Today, as evidenced by my spoiler alert heading, I made tofu. I’m pretty proud of myself.
But first, Gary ran the Nail Can Hill run today. It’s a yearly event, and I planned to run it this year however I didn’t feel I could justify the day off hockey given we are going to New Zeland for a few weeks soon. I would have felt bad bowing out this week (even for a good reason) then disappearing again mid June.

Gary heading off at the start
It’s just over 11kms, through the Nail Can Hill reserve, which according to all reports means there’s “a bitch of a hill” to climb and its along fire trails so its not exactly even, flat ground.
Gary made it in 51:00 ish. I was impressed.
Meanwhile I was playing hockey (so i wasn’t there to see him finish) and I felt like I had a great game. It was a 2 all draw with the Falcons. I was impressed with myself and my efforts.
Then I came home and I made tofu. It was easy, but a bit time consuming. I think that was mostly because I have never made it before.
I used this recipe to make my tofu. It’s pretty easy, but like I said I took a little longer to get the hang of things. I’m very much a free form cook, unless there’s something with a definite “must be exact” feel. Things like cakes and bread, which won’t rise without the correct portions, and this time. Having never played around with soymilk I wanted to pick one recipe and stick with it.
I got some Nigiri (magnesium flakes) at the health food shop yesterday. In essence the curdling and mold section of this process is the same way I made paneer a while ago, and a few recipies said i could use vinegar lemon juice as I did back then to curdle the milk. However a lot of recipes recommended using nigiri for authentic tofu so there it is.
Apparently you can also use Epsom salts, or food grade gypsum (I laugh because Gary adds gypsum to the ground when digging garden beds as a clay breaker).
So anyhow , the process is as follows:
Soak your beans overnight then blend the beans (and soaking liquid) in a blender or food processor till all smooshed up.
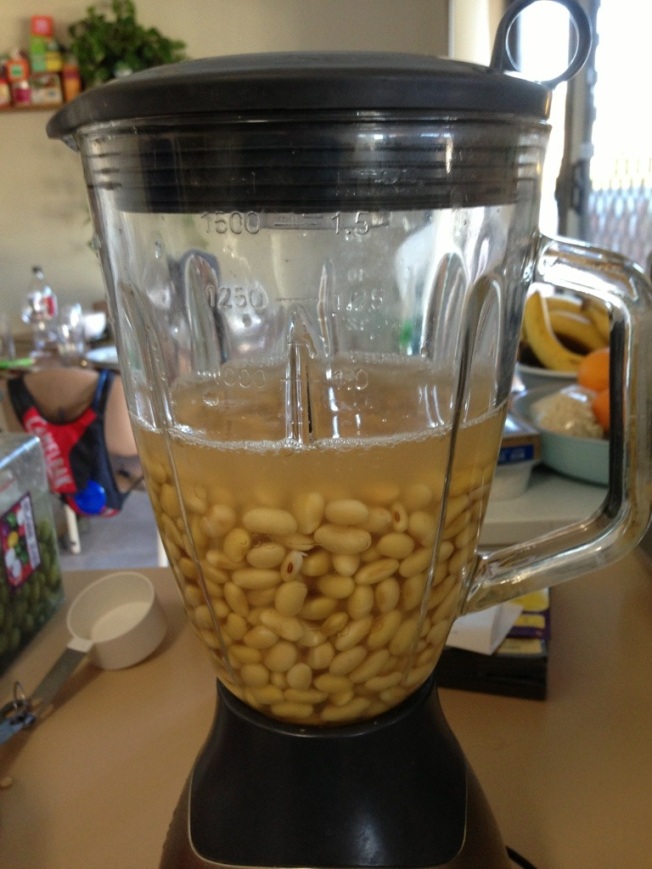
before
after
Then you boil some water in a LARGE pot. I used my big stock pot, normally reserved for making ridiculous amounts of tomato sauce or giant pots of soup.
Add the bean slurry to the pot of boiling water. It foams up. At one point it foamed up to about twice its original size. That’s where the big pot came in handy.
Once it’s cooked, you strain it through a piece of cheesecloth to get the fibrous bits if the beans out.
all the fiber-y bits once I took then out of the cloth. Apparently you can use this for quite a few recipes so I hope to post about that later
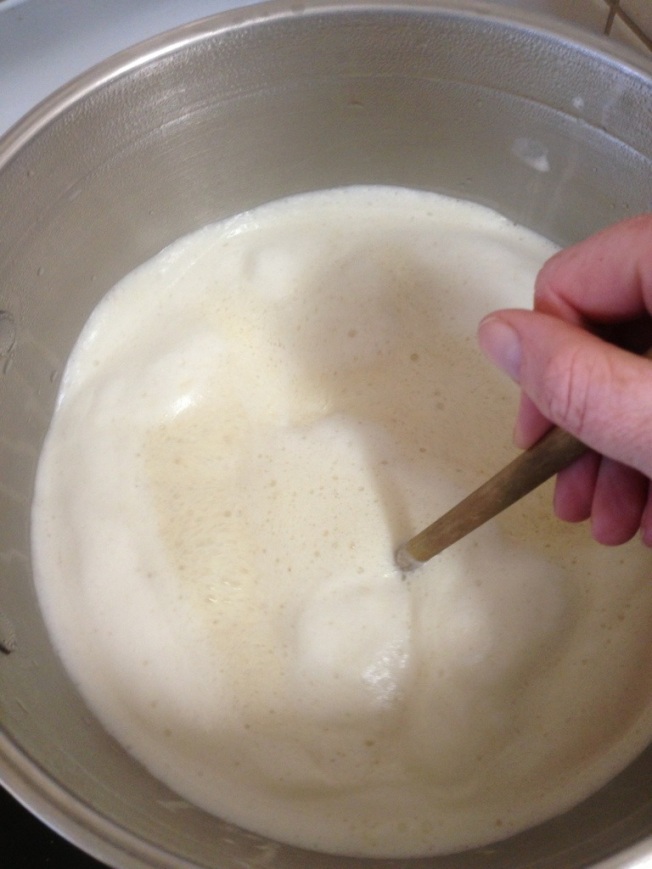
So what we have left is soymilk (yay! You could just stop here and have some delicious fresh soymilk.)
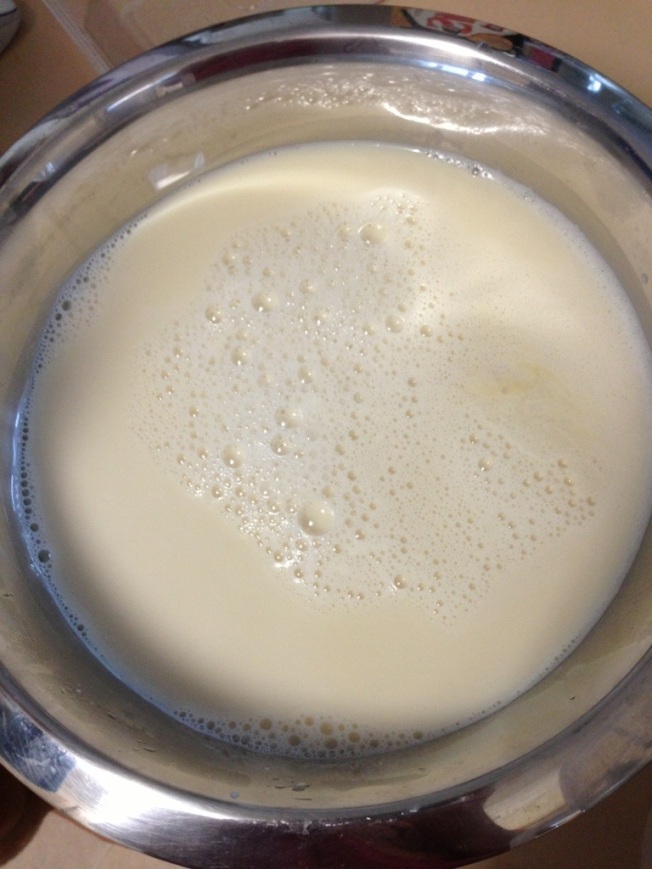
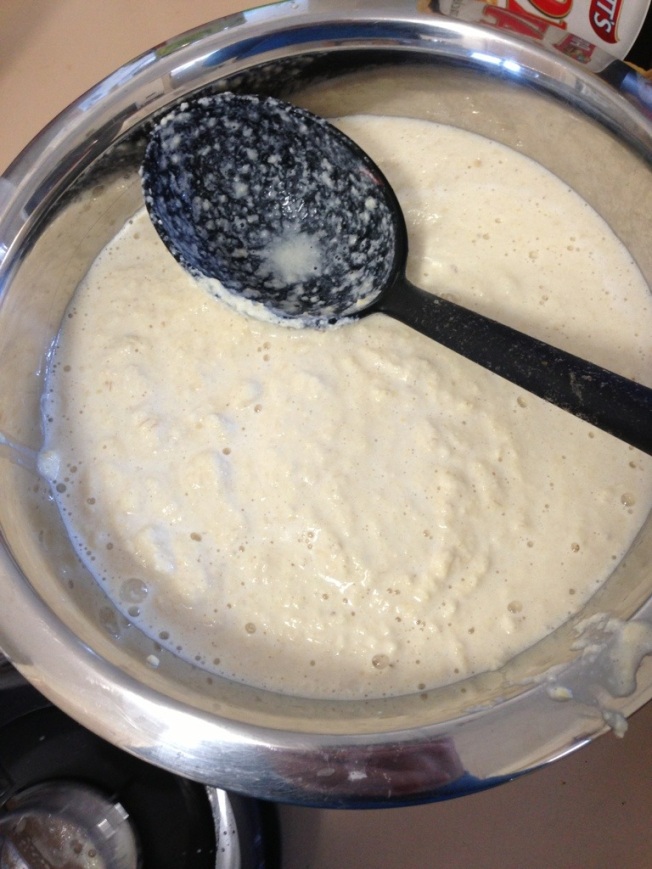
Then it’s basically the same as for paneer, or basic cottage cheese. Being the milk back up to about 66 Celsius, take off the heat and stir in the coagulant (nigiri, in my case).
Let sit for about 15 minutes, until it looks like this:
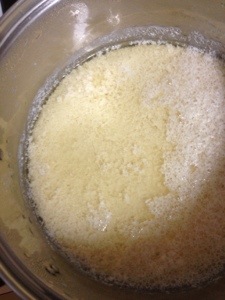
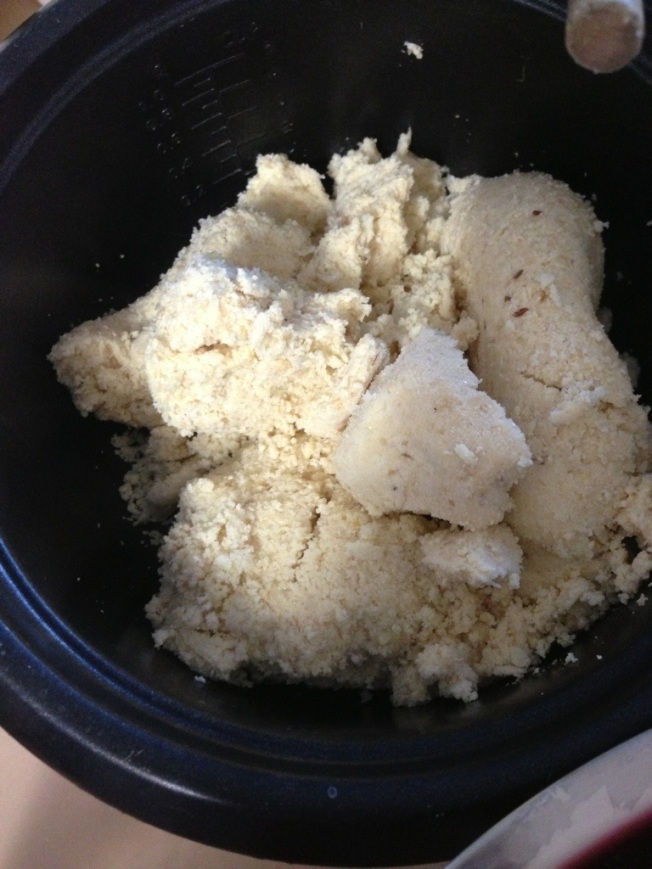
Strain through a (clean) cheese cloth again. Congrats! You now have separated your curds and whey. Miss Muffet would be proud.
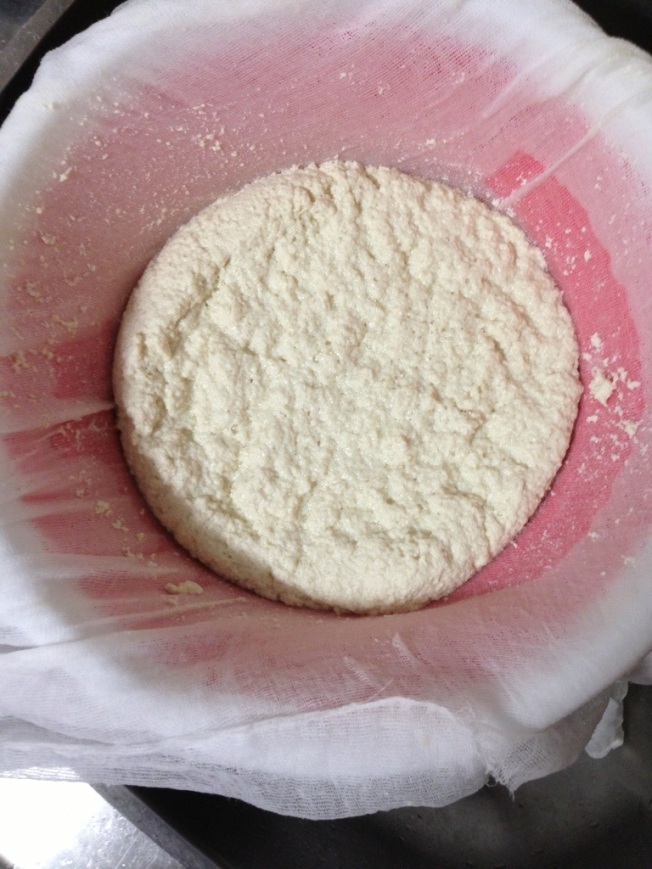
Next step is to press it, which can be done in the strainer for a round/irregular blob of tofu. I wanted a square block so I punched some holes in a takeaway container. I put the cloth with the tofu into it, folded the cloth over, and then used a second container on top with some jars full of water to press it.
After 15 minutes or so, its come out like this (upside down)
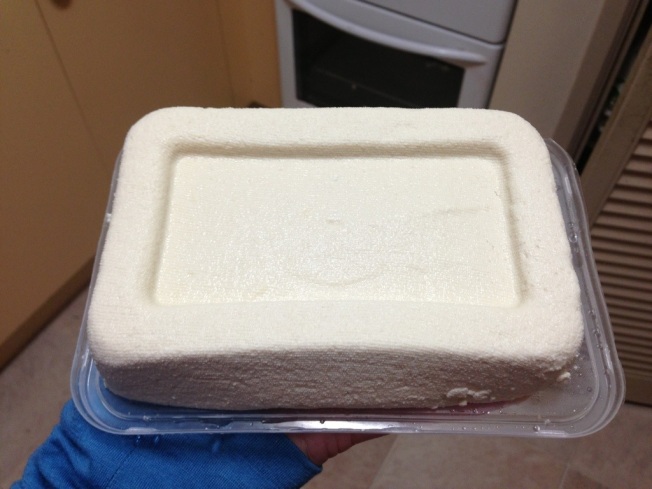
So there you go. Easy peasy fresh home made tofu with no preservatives.
I was wondering what to do with the whey, as I didn’t want to just wash it down the sink. So we will probably use it in our garden as a fertiliser to feed the next lot of veggies. Other options could be as a base for soup or in smoothies. I think the nigiri made it a little bitter though so I might have a play around with proportions or using different coagulants next time.
I also want an actual tofu press, to make it an even size each time.
Now I just have to decide how I’m eating it…..


